
Nail Jewelry for Any Occasion + How to Set Gel Polish Without a UV Light
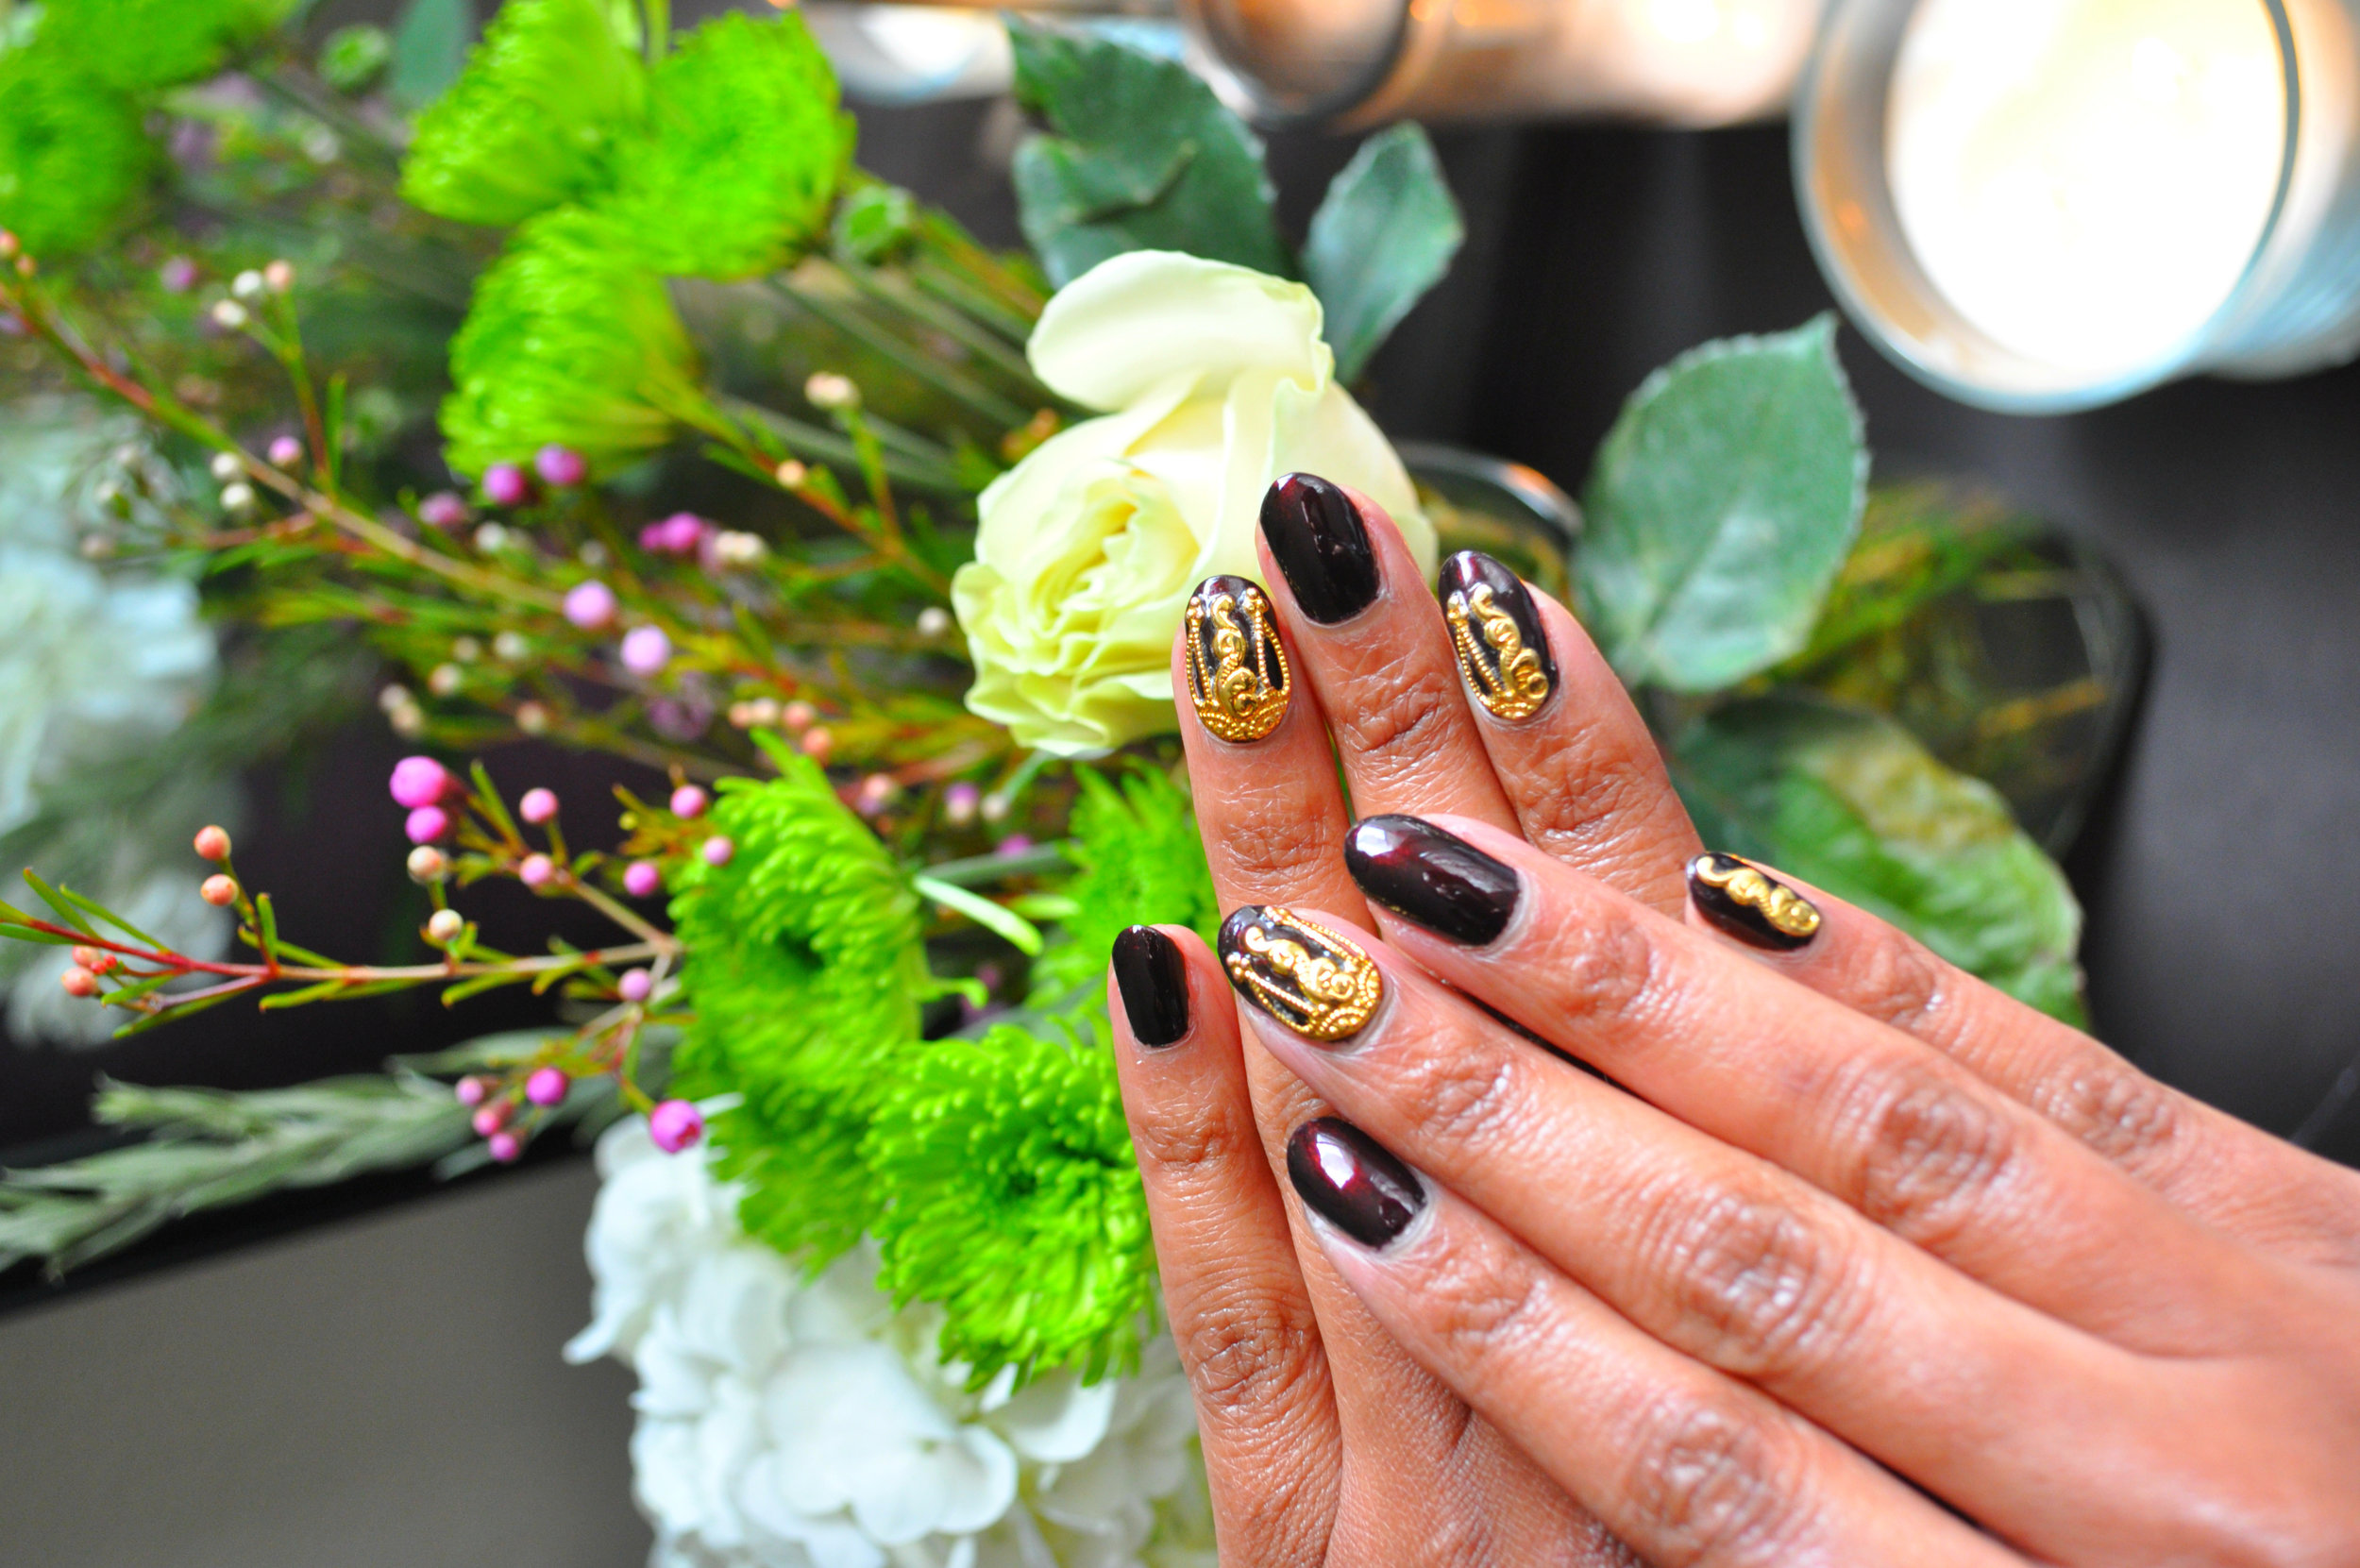
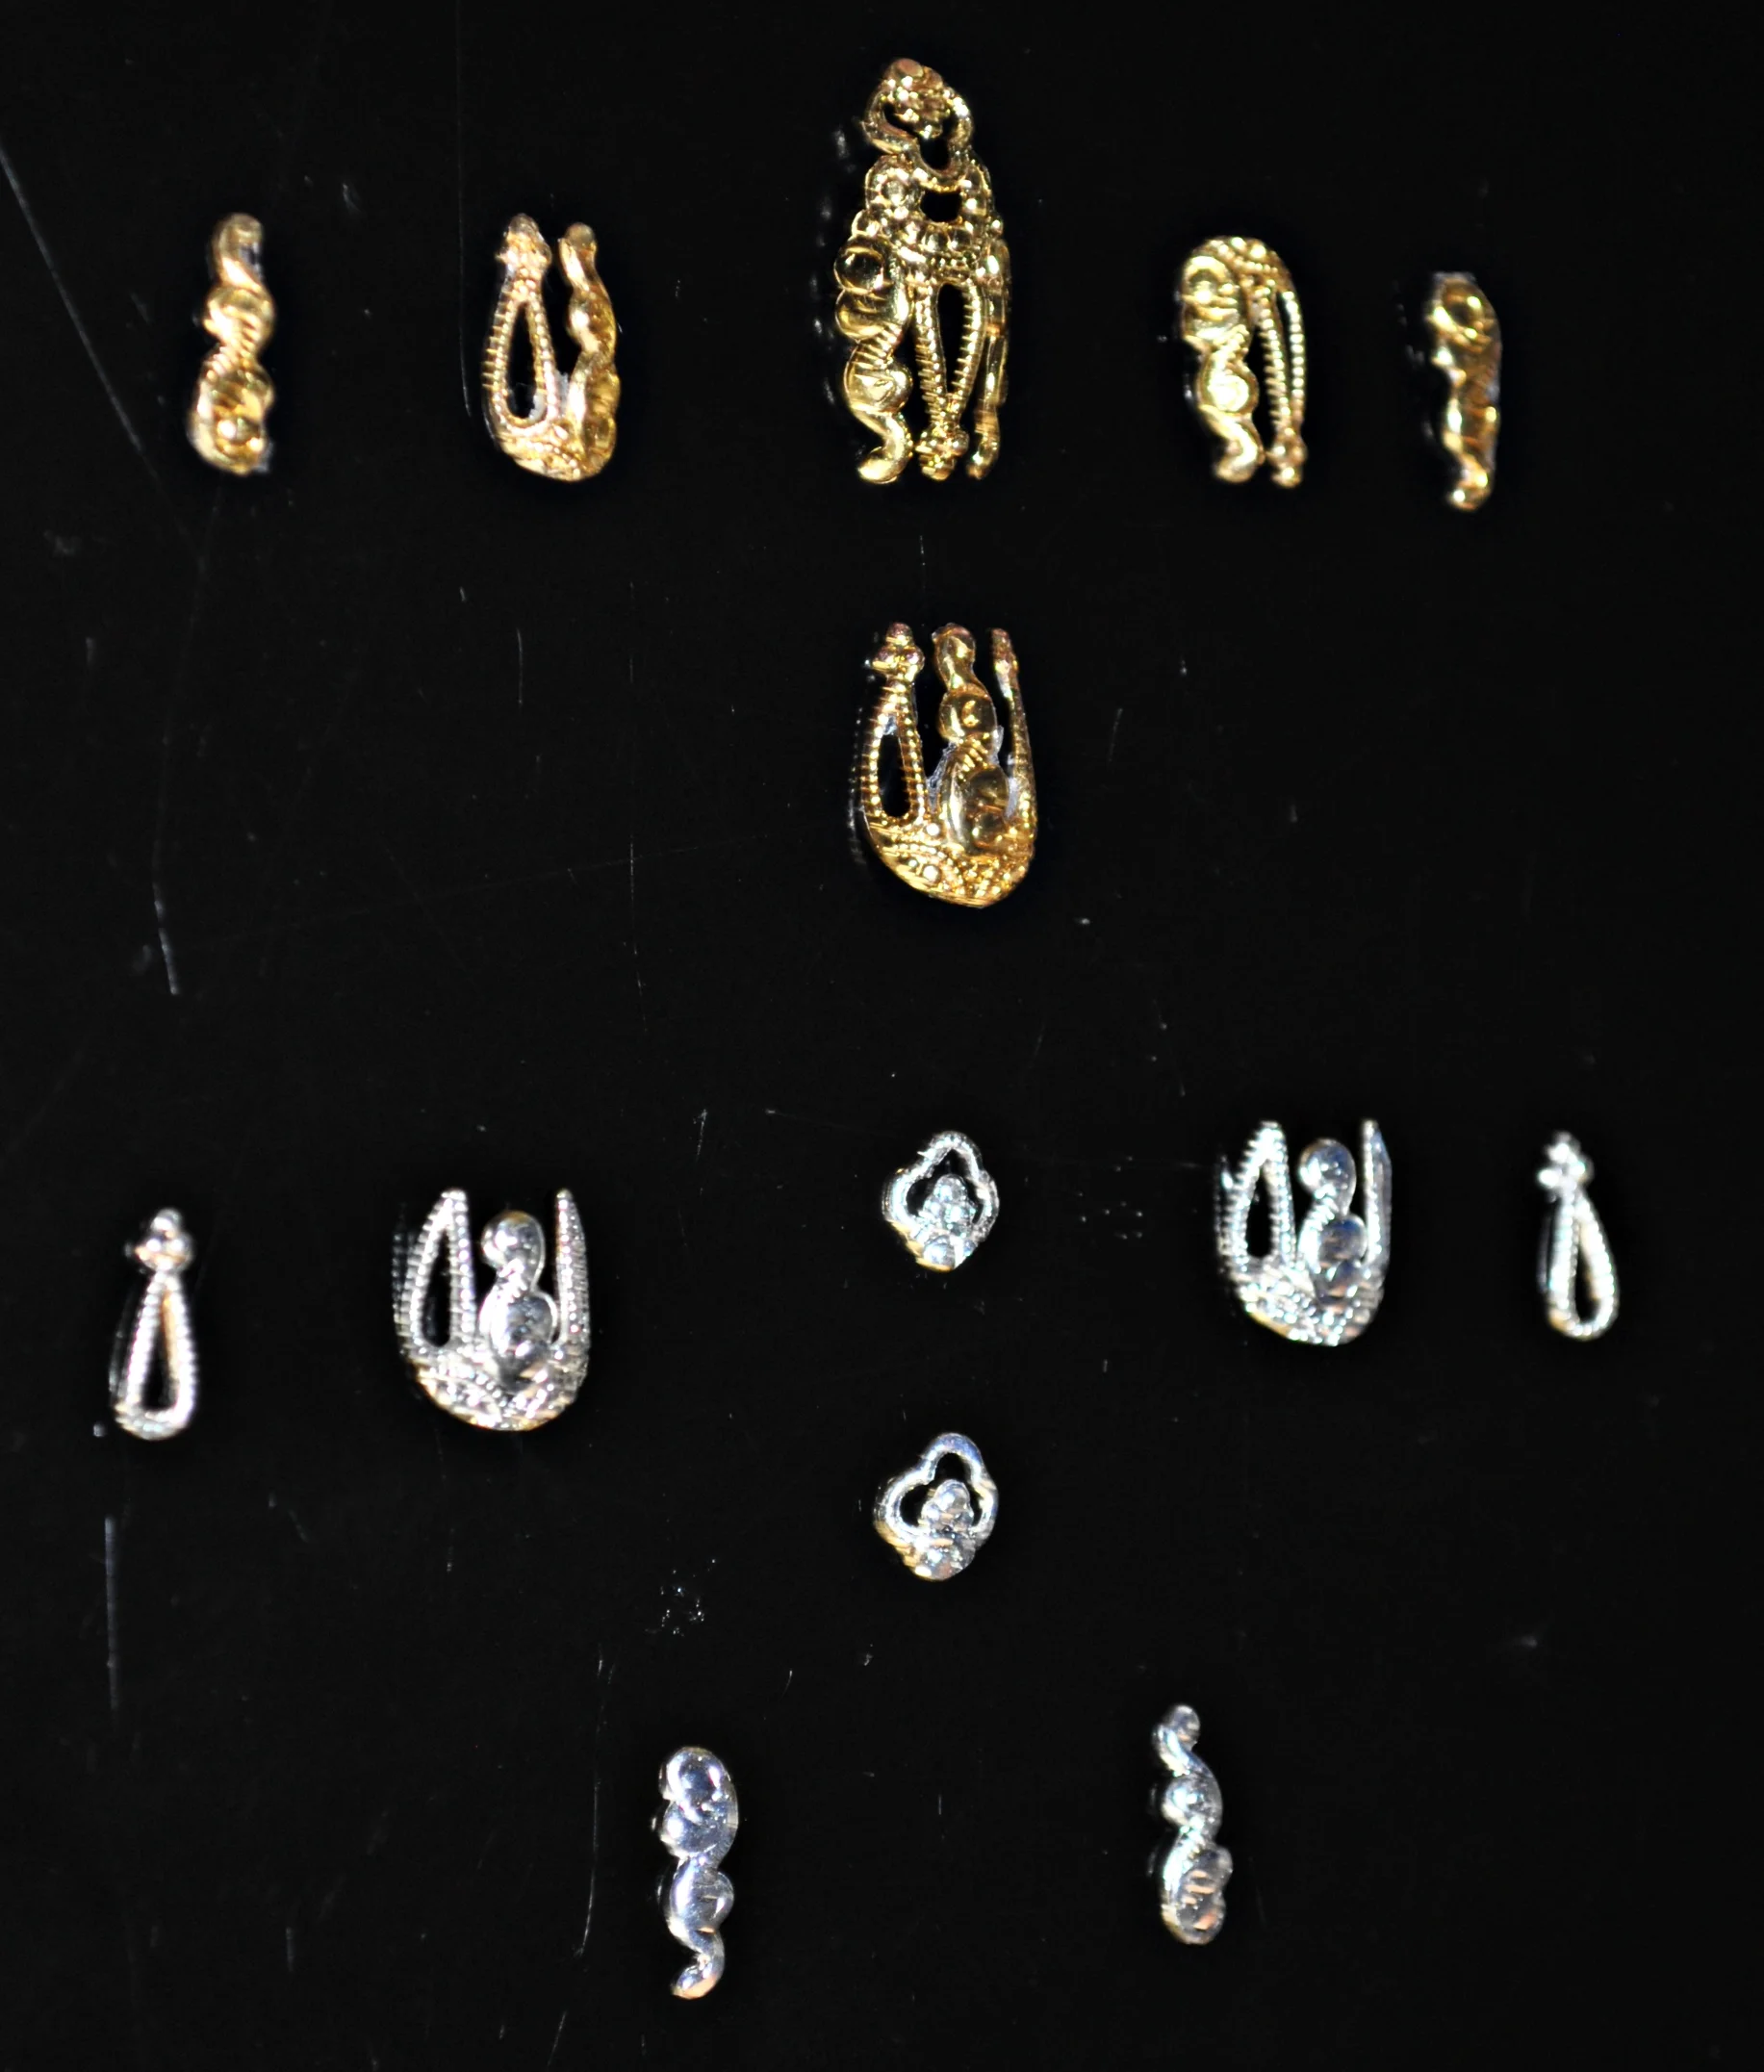
So I was ecstatic when I finally placed an order for my first set (2 sets, actually) of nail jewelry from @AlleyCatJewelry. I got a sweet Black Friday deal and felt the holidays would be the perfect time to do something a little extra with my nails. and seeing as how my nails seem to refuse to grow out long these days, the extra ornamentation felt perfect for the holiday occasion.
Personally, I do not like intricate nail designs when my nails are longer. Given that fact, I kinda wish I'd ordered more gold pieces, one for each nail, to really drive home the point that when one's nails are short, you can go extra opulent from a design aspect. Nevertheless, working with what I got, I think that I'll definitely be getting a lot of use from these reusable pieces.
A couple of things to keep in mind:
When prepping the nail to apply the jewelry using a base coat and at LEAST 2 coats of color polish is an absolute must if your nails are natural. I actually highly suggest more. You want to give the jewelry a nice cushion to settle into. Plus, you'll be thankful for the extra protection when it comest time to remove. I used my standard non-light cured (5 layer) gel polish method. It's really 6 layers if you count the top gel coat-- Gelous, which I typically add the second day. It sounds complicated, but it's really just a few thin coats of polish:
1st coat Gelous
2nd coat pretty color
3rd coat Gelous
4th coat pretty color*
5th coat Seche Vite topcoat
6th coat Gelous
I used Kiss nail glue to apply to the predominately dry *4th layer then sealed with the 5th layer of fast-drying Seche Vite. The top gel coat, mentioned previously, is applied the following day. I like to wait about 90 seconds or more between cot applications.
This method typically gives me at least 7-12 good days of polish wear-- especially if I've been careful to use gloves when cleaning and to touch up the tips when I notice the tips are wearing thin or very lightly chipped (which is what I did in this case). In fact, the photo above was taken on Christmas, day 8-- only 1 day prior to me removing my polish. I definitely could've stretched this at least until NYE had one of my designs not popped off somewhere along the way between me getting dressed, packing my dog in the car and then getting out of the the car in SF.
After that, it was a wrap and I was super irritated that my precious had gone missing. Needless to say when I got home that evening I was all ready to rip each piece off, and actually snatched a bit of my nail bed off of one nail on the first try. Whoa, whoa, whoa!!! That is NOT what the girls want. So I jumped on IG to consult with the designer about the best method for removal.
Ally was super-quick to respond that she carefully removes hers using tweezers. I proposed acetone, but knowing that it might cause a problem with the finish-- it was neither of our first choice solution. I did find out that the silver set is sterling, so it can withstand the acetone, if necessary. I ultimately went back to carefully and gently pull off each piece. Which, it turns out, works quite well when you take your time. Also, the previously mentioned extra layers of polish definitely helped.
Overall, I'm very pleased with the two sets I purchased, and will likely continue to add to my collection in the future. Hit me up in the comments or on IG with questions or if you decided to add nail jewelry to your nail art repertoire. Also, do you have suggestions for other brands that I should look into? We love to support our small businesses!