Give Yourself a Springtime Hydrating Facial At Home in 5 Easy Steps

So, I've recently been on a crusade to restore my skin to it's former glory. The past few months I've noticed it just hadn't been looking as dewy. Not one to take excuses, I set out to get down to figuring this out. Life is too long for shabby looking skin-- especially at my age. Although, I must confess I had not been drinking nearly enough water of late, and that's an inexcusable fact. I tried to blame my lackluster glow on a new climate and water that my skin's not used to. But if I'm being honest, my skin wasn't in the best condition even before then-- and that's in spite of summer's balmy atmosphere (yes, it's been that long).
My aha moment came after a nasty bout of the stomach flu several weeks ago. I didn't want to eat or drink much for the obvious reasons, but the one thing I found myself periodically sipping on, and I do mean sipping, was Gatorade. Imagine my surprise when I went to get in the shower the next day and caught a glimpse of myself looking quite the opposite of stir-fried poo. It was like magic. Not only did my skin seem to be glowing, but my pores were extra tight. I was shocked. Now, I know what you're thinking, Gatorade is not the ideal au natural, holistic beauty remedy for great skin. And trust me:
a.) I don't do Gatorade. If I tried hard enough I can probably accurately conjure up the number of times I've ever had any in the past. However, I was bedridden, and that's what was offered to me. And that's typically how ever other instance of me drinking Gatorade has occurred over the years.
Aaaand...
b.) You know as soon as I was in my right mind again I hopped online to find a natural, homemade version. I actually came up with some interesting results, but in the end I decided to go with what I already knew is great for hydration-- coconut water.
Nevertheless, here is the routine that I came up with over the course of the past several weeks of trying different things out, which I feel has helped restore my sad, ashened looking skin-- just in time for spring. YAY! If you're like me and in need a hydrating boost-- our prayers have been answered. And the slay Gods are rejoicing!!
Step 1: Cleanse
Find yourself a good, mostly natural cleanser (if not completely). A few of my faves that I keep in rotation are Neutrogena Naturals, Black Soap, or Yes to Tomatoes Gel Cleanser. Also, when in harsh winter climates, Yes to Blueberries has a nice cream based cleanser that is also pretty fantastic.

Step 2: Clarify
Here's a little treat that I've been using to clarify my pores of late. It's GlamGlow's Youthmud Tinglexfoliate Treatment, available here. Now, although I've been using this on and off for some months, I haven't quite built up to committing to a whole jar that retails at $69 in Sephora.
However, I have been enjoying the abundance of samples that are readily available for FREE99 whenever I run out. Ya dig!? I assume that one day, like most products that I sample for a while, I'll suddenly decide I can't live without it and break down and buy it. But for now, the way my budget is setup... you know the rest. Lol.
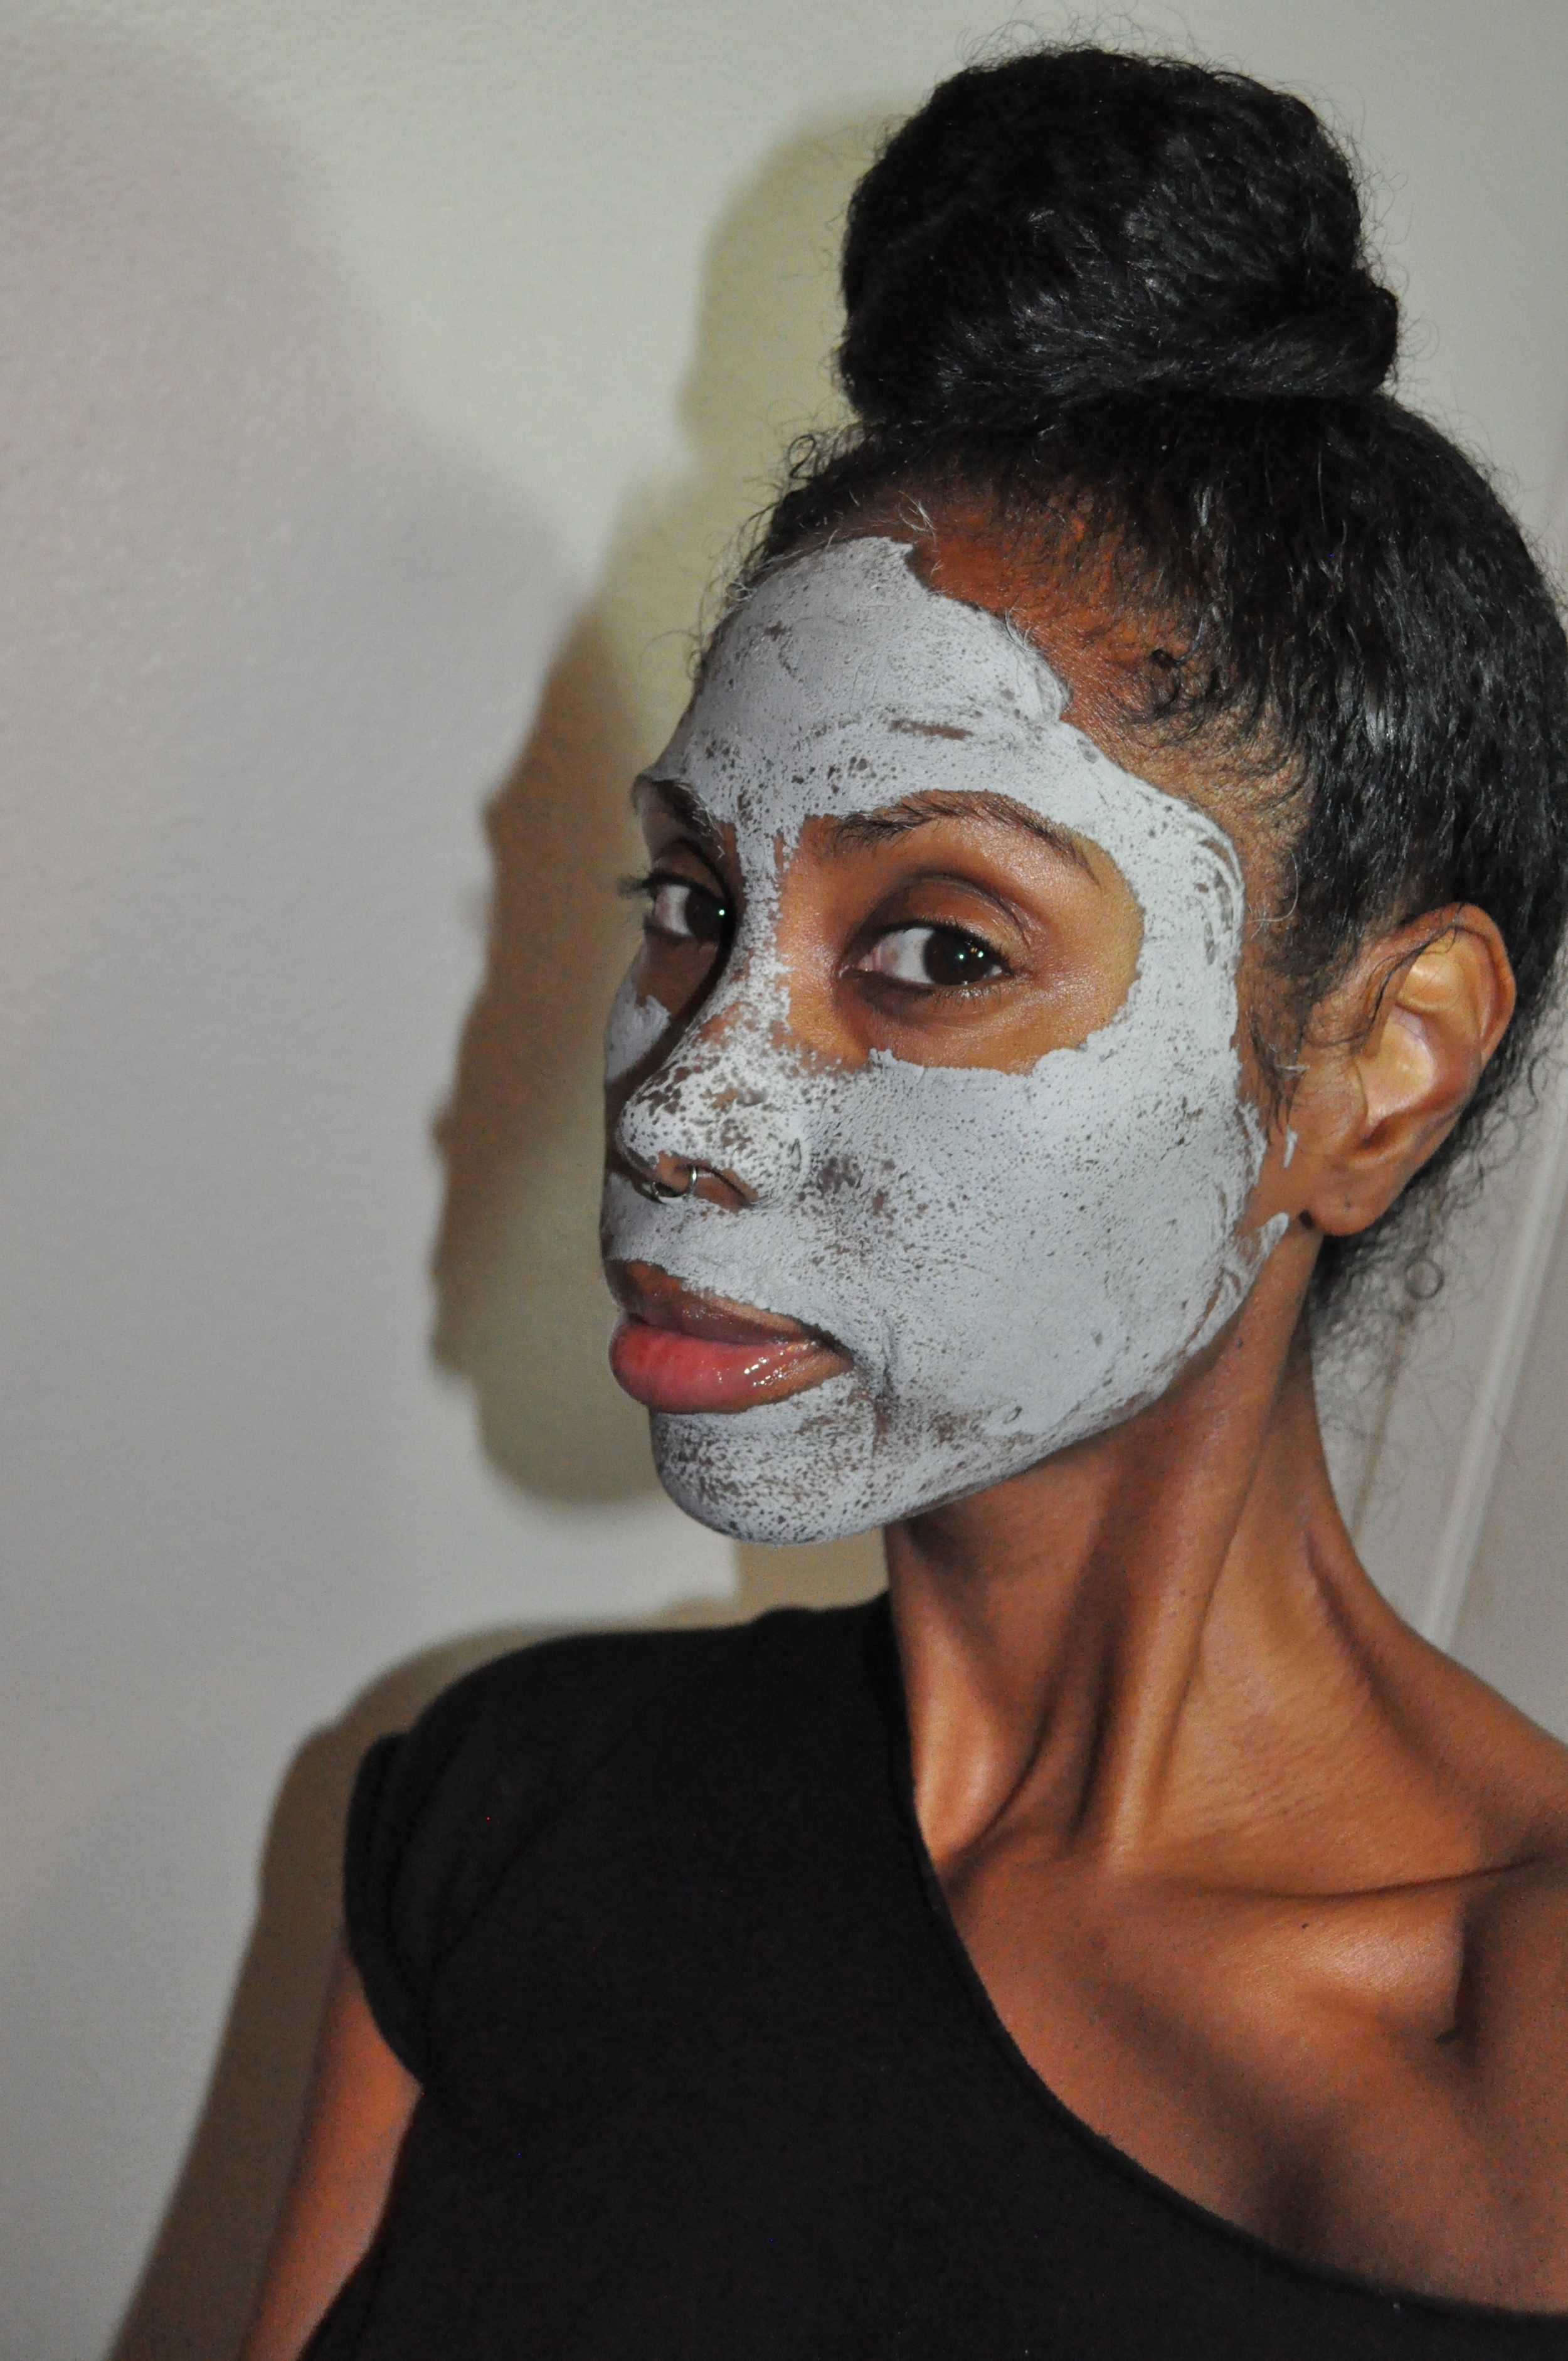

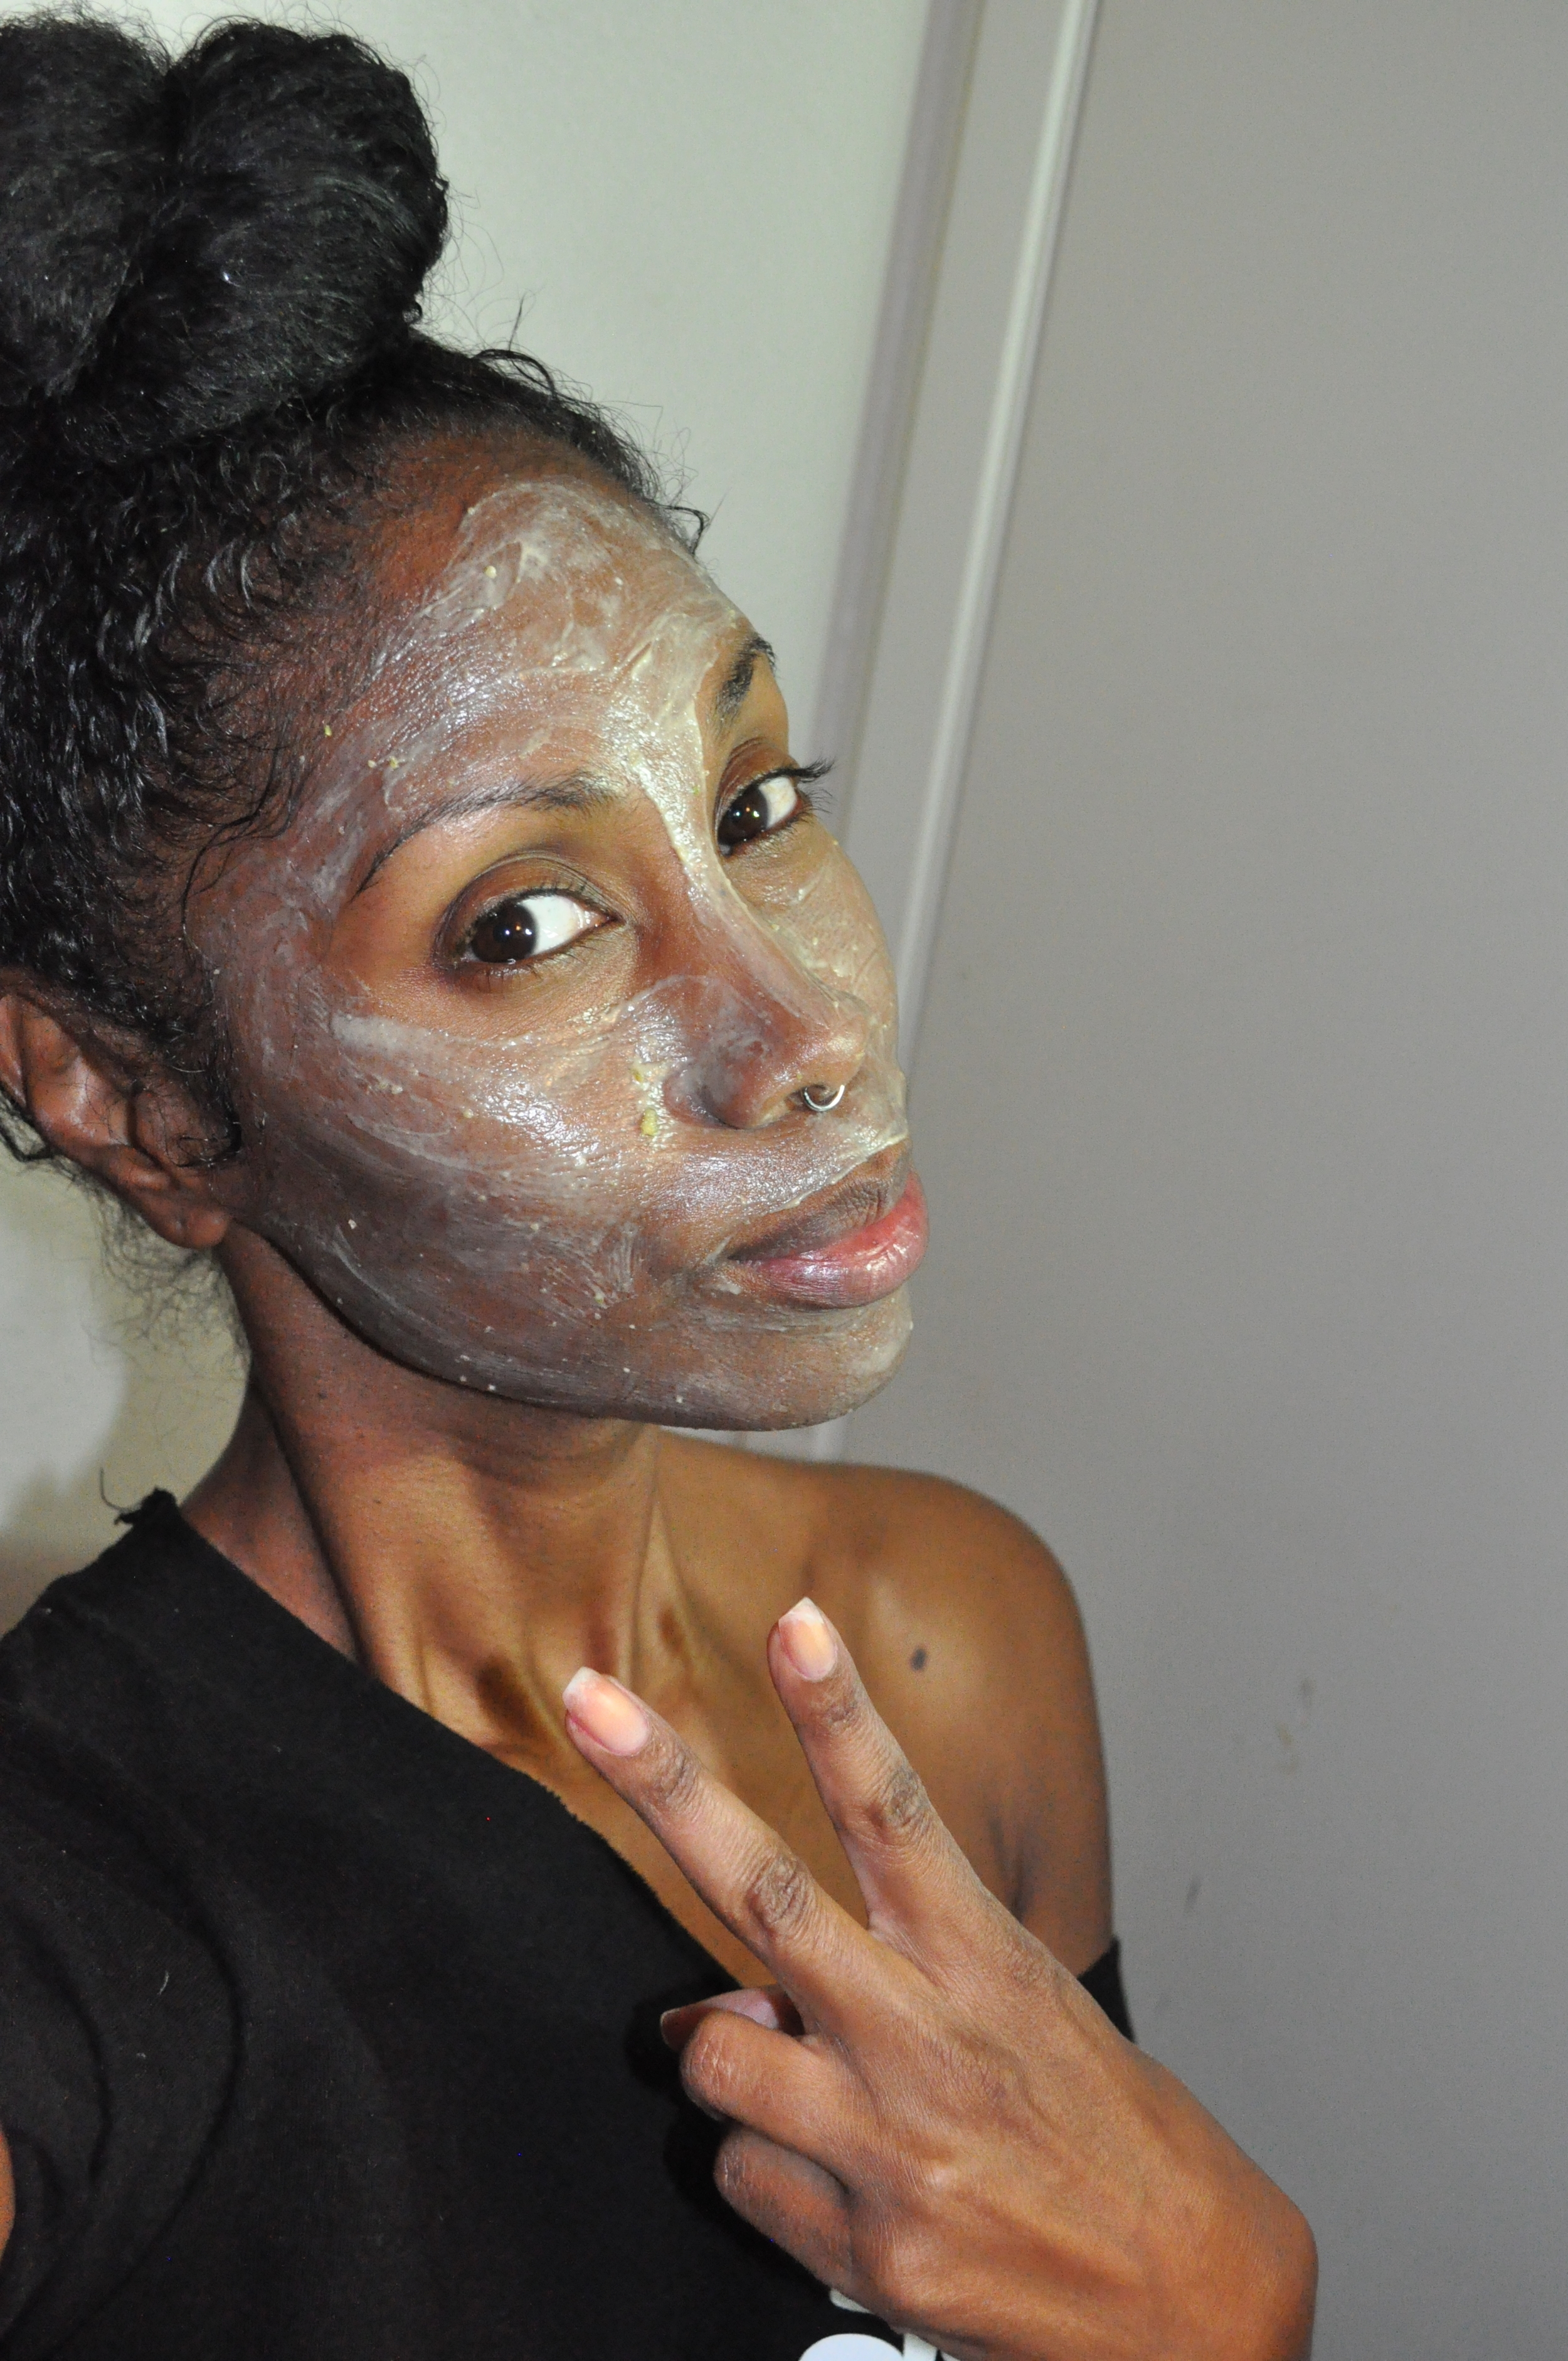
What I love about this mask is that not only does it seem to purify the pores, but do you see the little dots all over my t-zone? Well, those are supposedly my "problem areas," made evident using a (patented?) mud technology. When I began testing my theory of this hydration routine, I'll admit there were lots more dots the previous week than here (which was week 2). Full disclosure: In between weeks I'd gone to the aesthetician and gotten a hydrating facial, just to compare methodology of how professionals do things. And in week 2 I started to see a vast improvement. Like I said, I've been on a mission to right these dry skin wrongs. When I commit, I go all the way in.
Step 3: Hydration Mask
Now this is what I consider probably the most important step after cleansing. While it's awesome to have the benefit of a clarifying mask (or at the least a clarifying cleanser), the thing about both is that they can be drying, which I mentioned several times before, I was working to eradicate. Therefore, I felt it was necessary find and add a good hydrating mask into the routine.
When I think back on all the facials I've had done by aestheticians over the years, the one thing each experience had in common was that the masks used at the spa were never the kind that dried up and hardened. Like ever. Total lightbulb moment. In fact, even if they were exposed to open air and over time (say, 15 minutes) were allowed to dry out because of their make up, at the spa they always took care to either use a light steam over the face during and after mask application. Sometimes they applied a warm, moist towel, or some other type of applique so that the mask never had the opportunity to dry and get hard. Other times, they avoided using masks that had a propensity to harden in general... such as the one here.
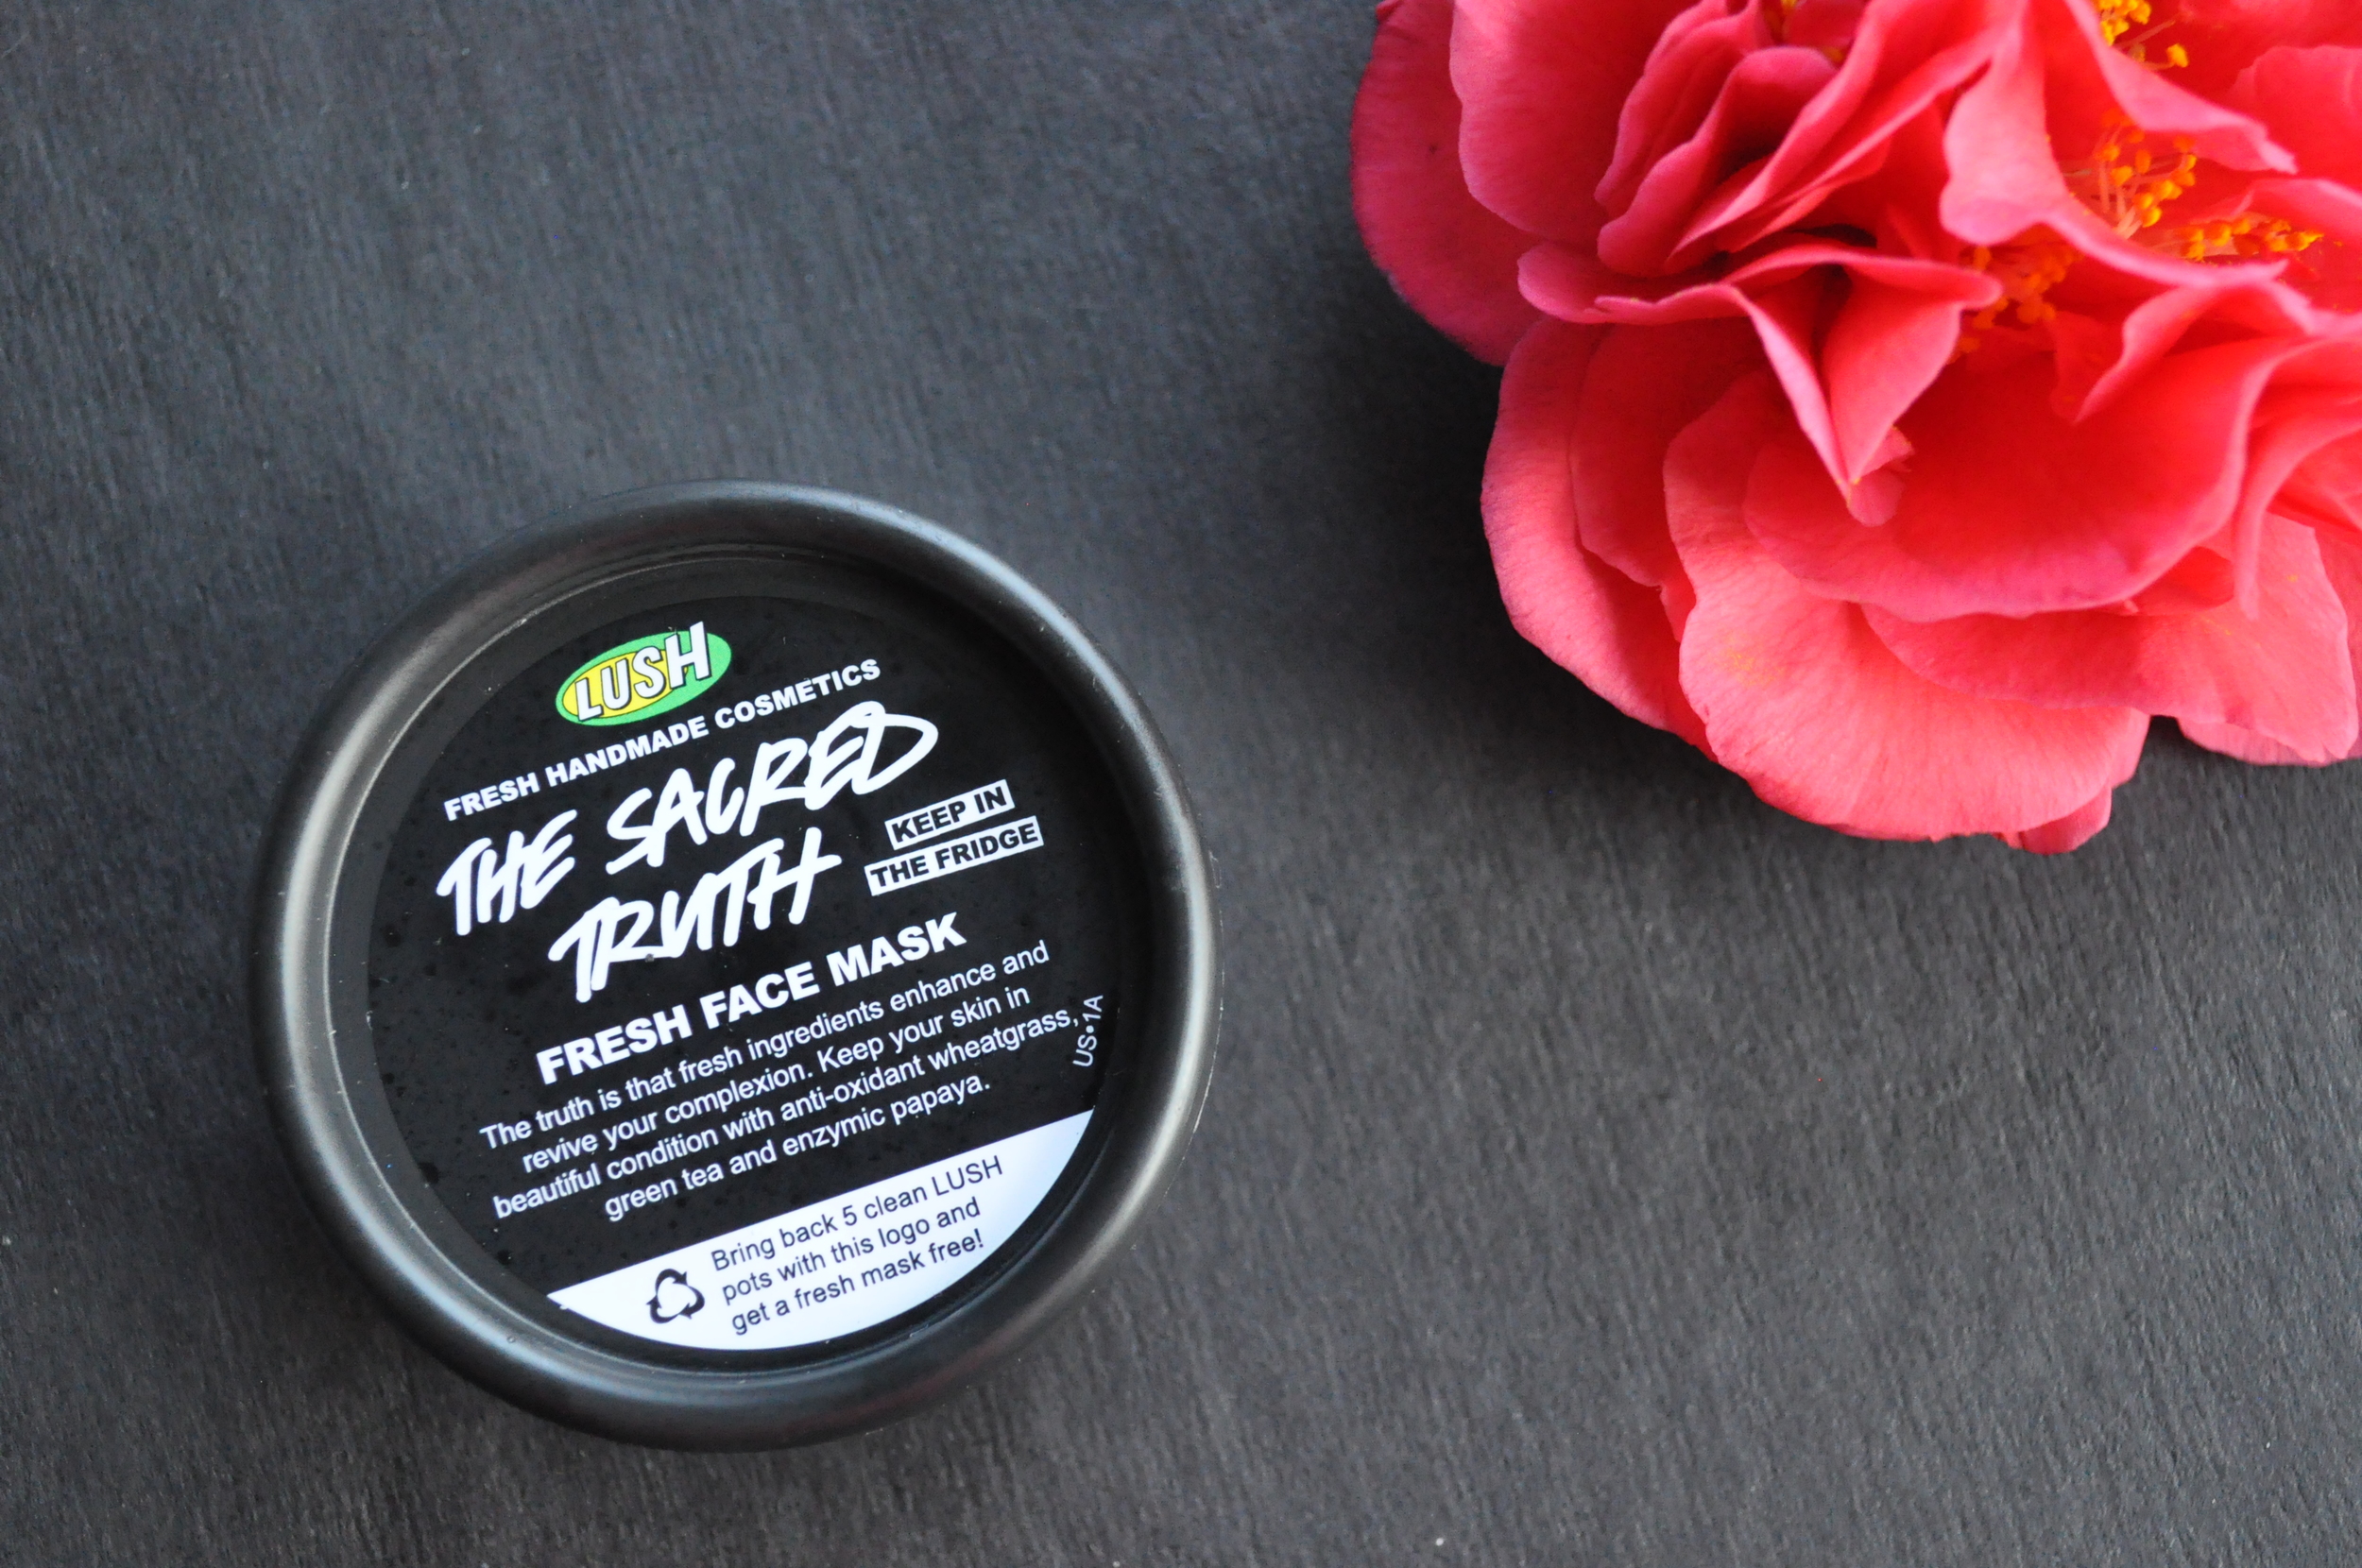
A few days after my hydrating facial at the spa, I went into Lush and explained my issue and asked for a recommendation and this is what I walked out with. Best 7-8 dollars I've spent this year. I love this stuff. The one and only drawback is that because it doesn't have a bunch of preservatives (yay) the expiration to use it is 3 weeks tops with refrigeration, Bummer. However, it did encourage me to use it often to make sure I was getting my money's worth.
Step 4: Tone
Toner is a pretty big deal when it comes to prepping the skin for your moisturizer. This is after you've rinsed off the mask in step 3, of course. I always knew toner helped lift dirt without over drying, but I was reminded of how great toner is to retain moisture when, in a pinch, I used it to remove some matte lip stains I swatched during my recent pre-spring mini-haul.
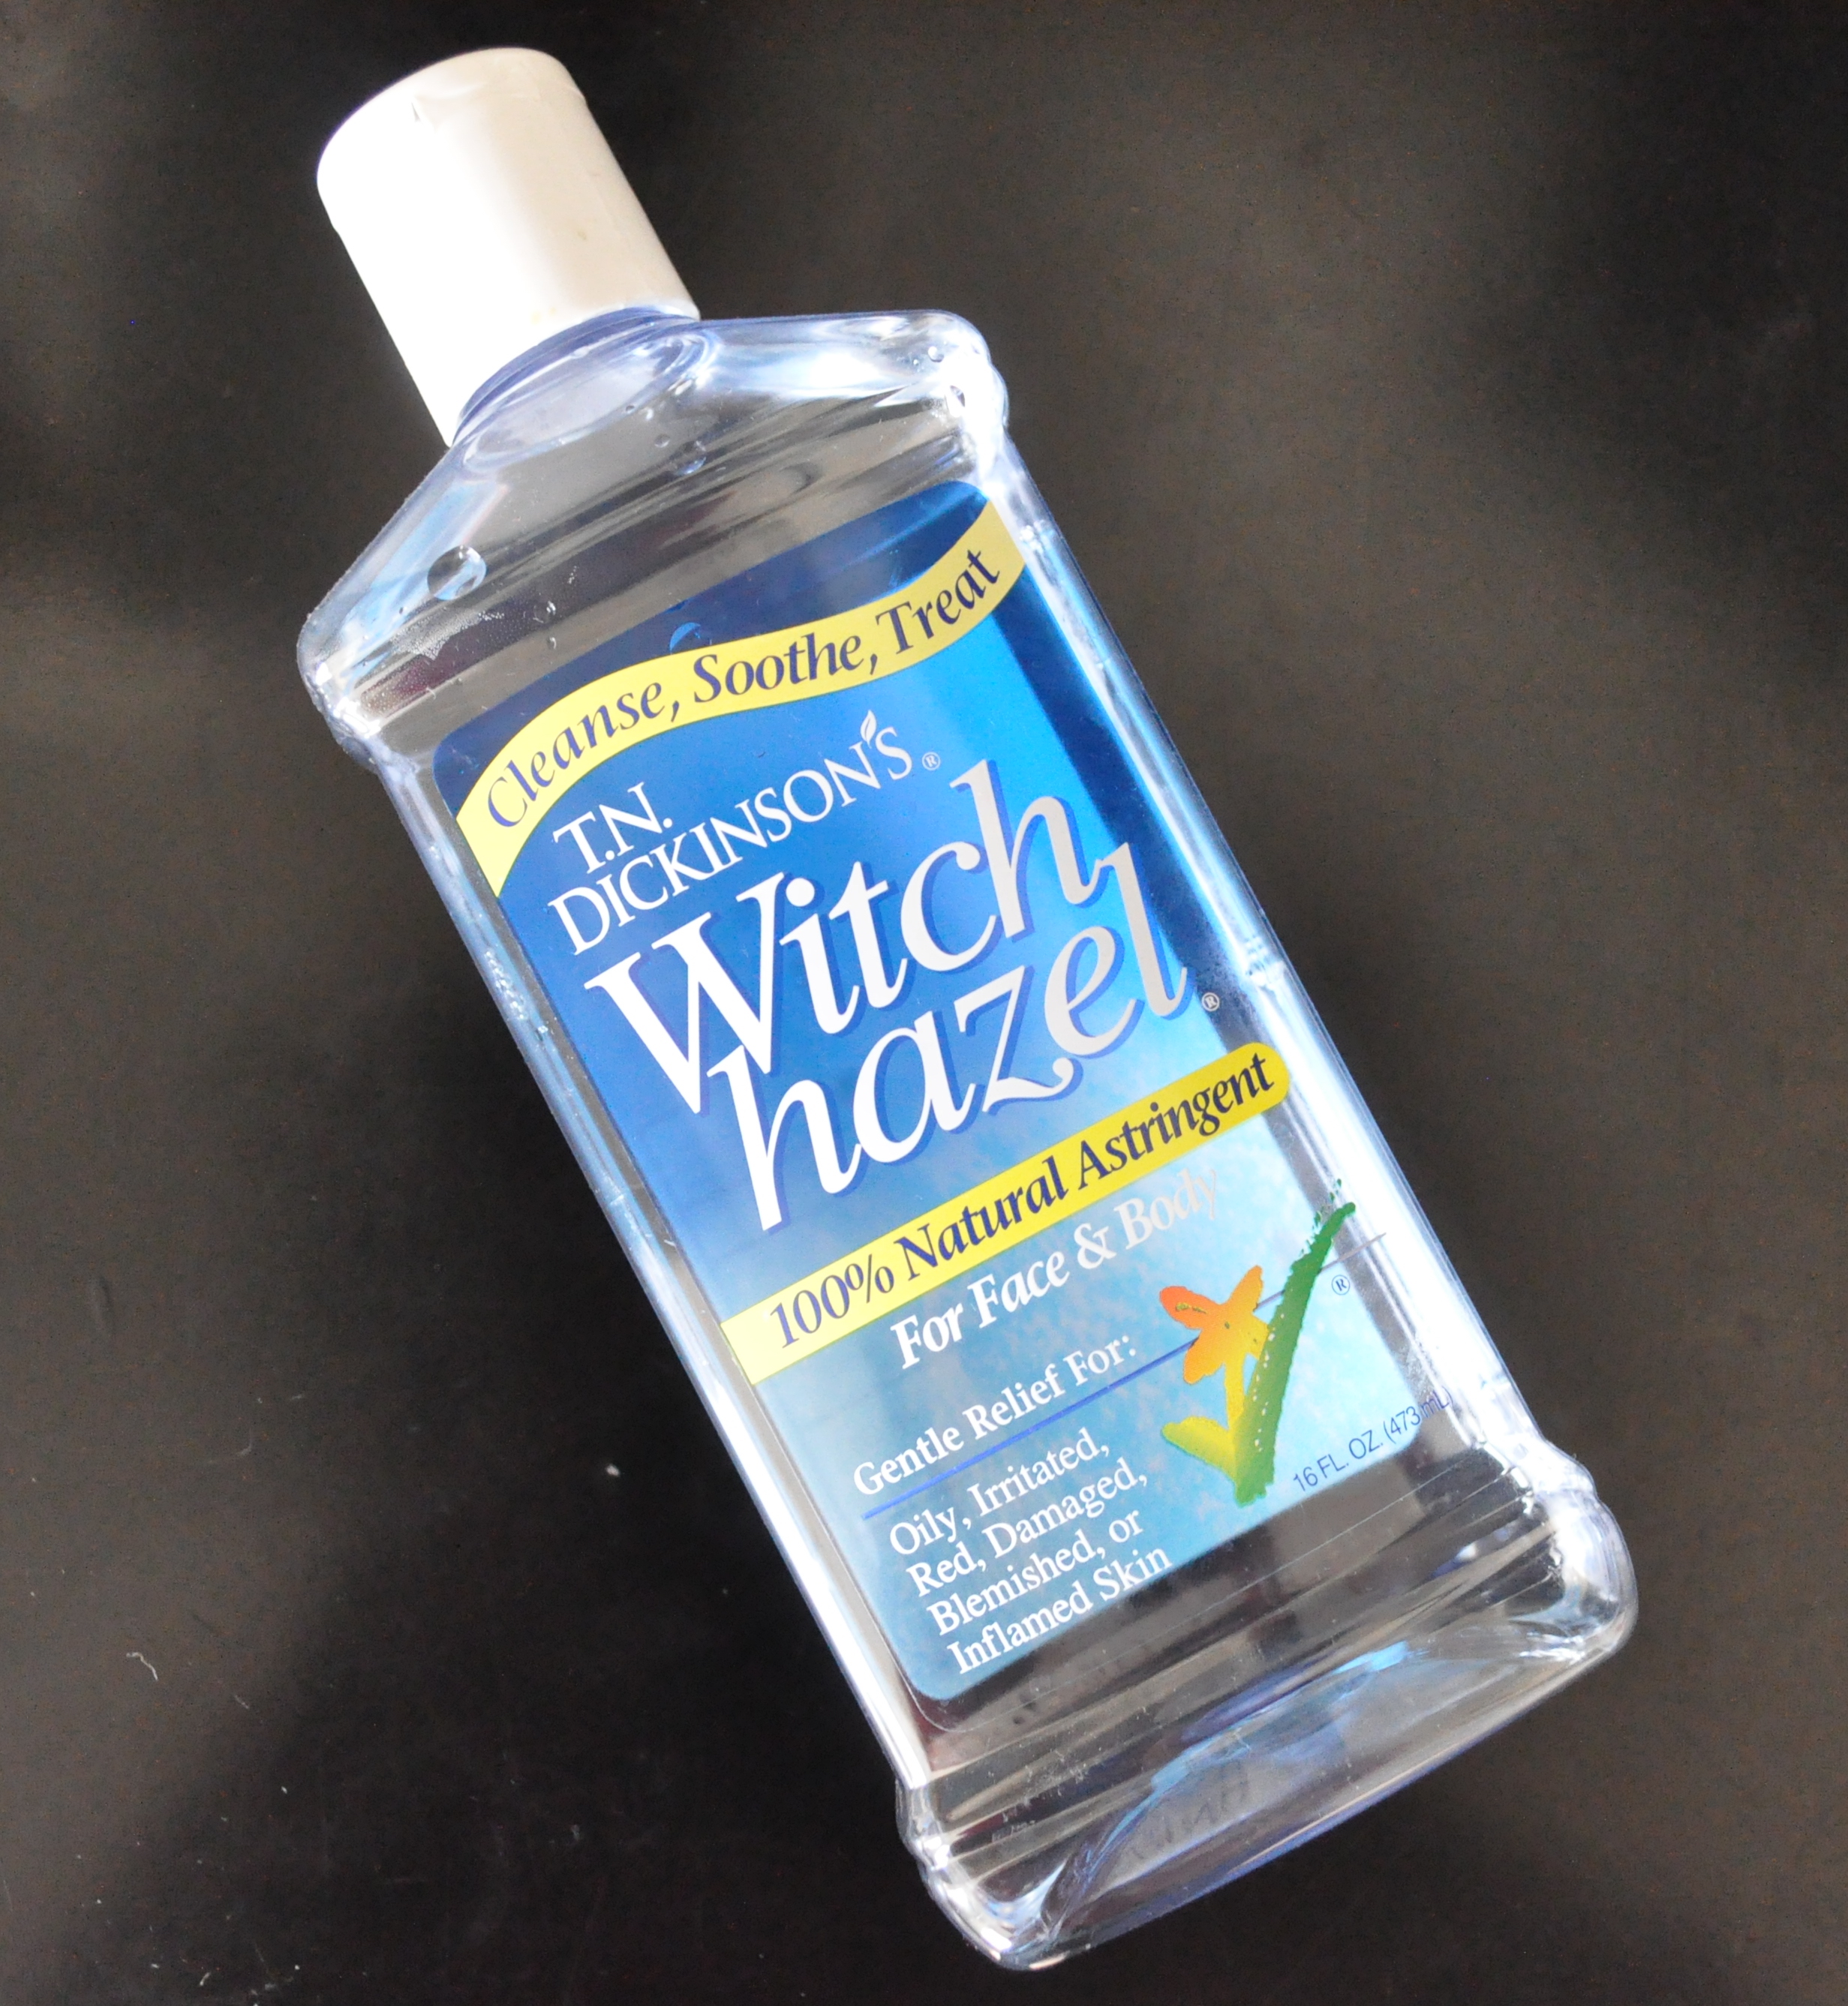
The woman who did my facial the other week used a wonderful smelling toner which reminded me a lot of Thayer's Rose Witch Hazel. I'm currently using the original formula, simply because I grew impatient looking for the rose kind when I ran out. So, when working on building hydration into a routine, I'd say go with witch hazel to up the moisture ante.
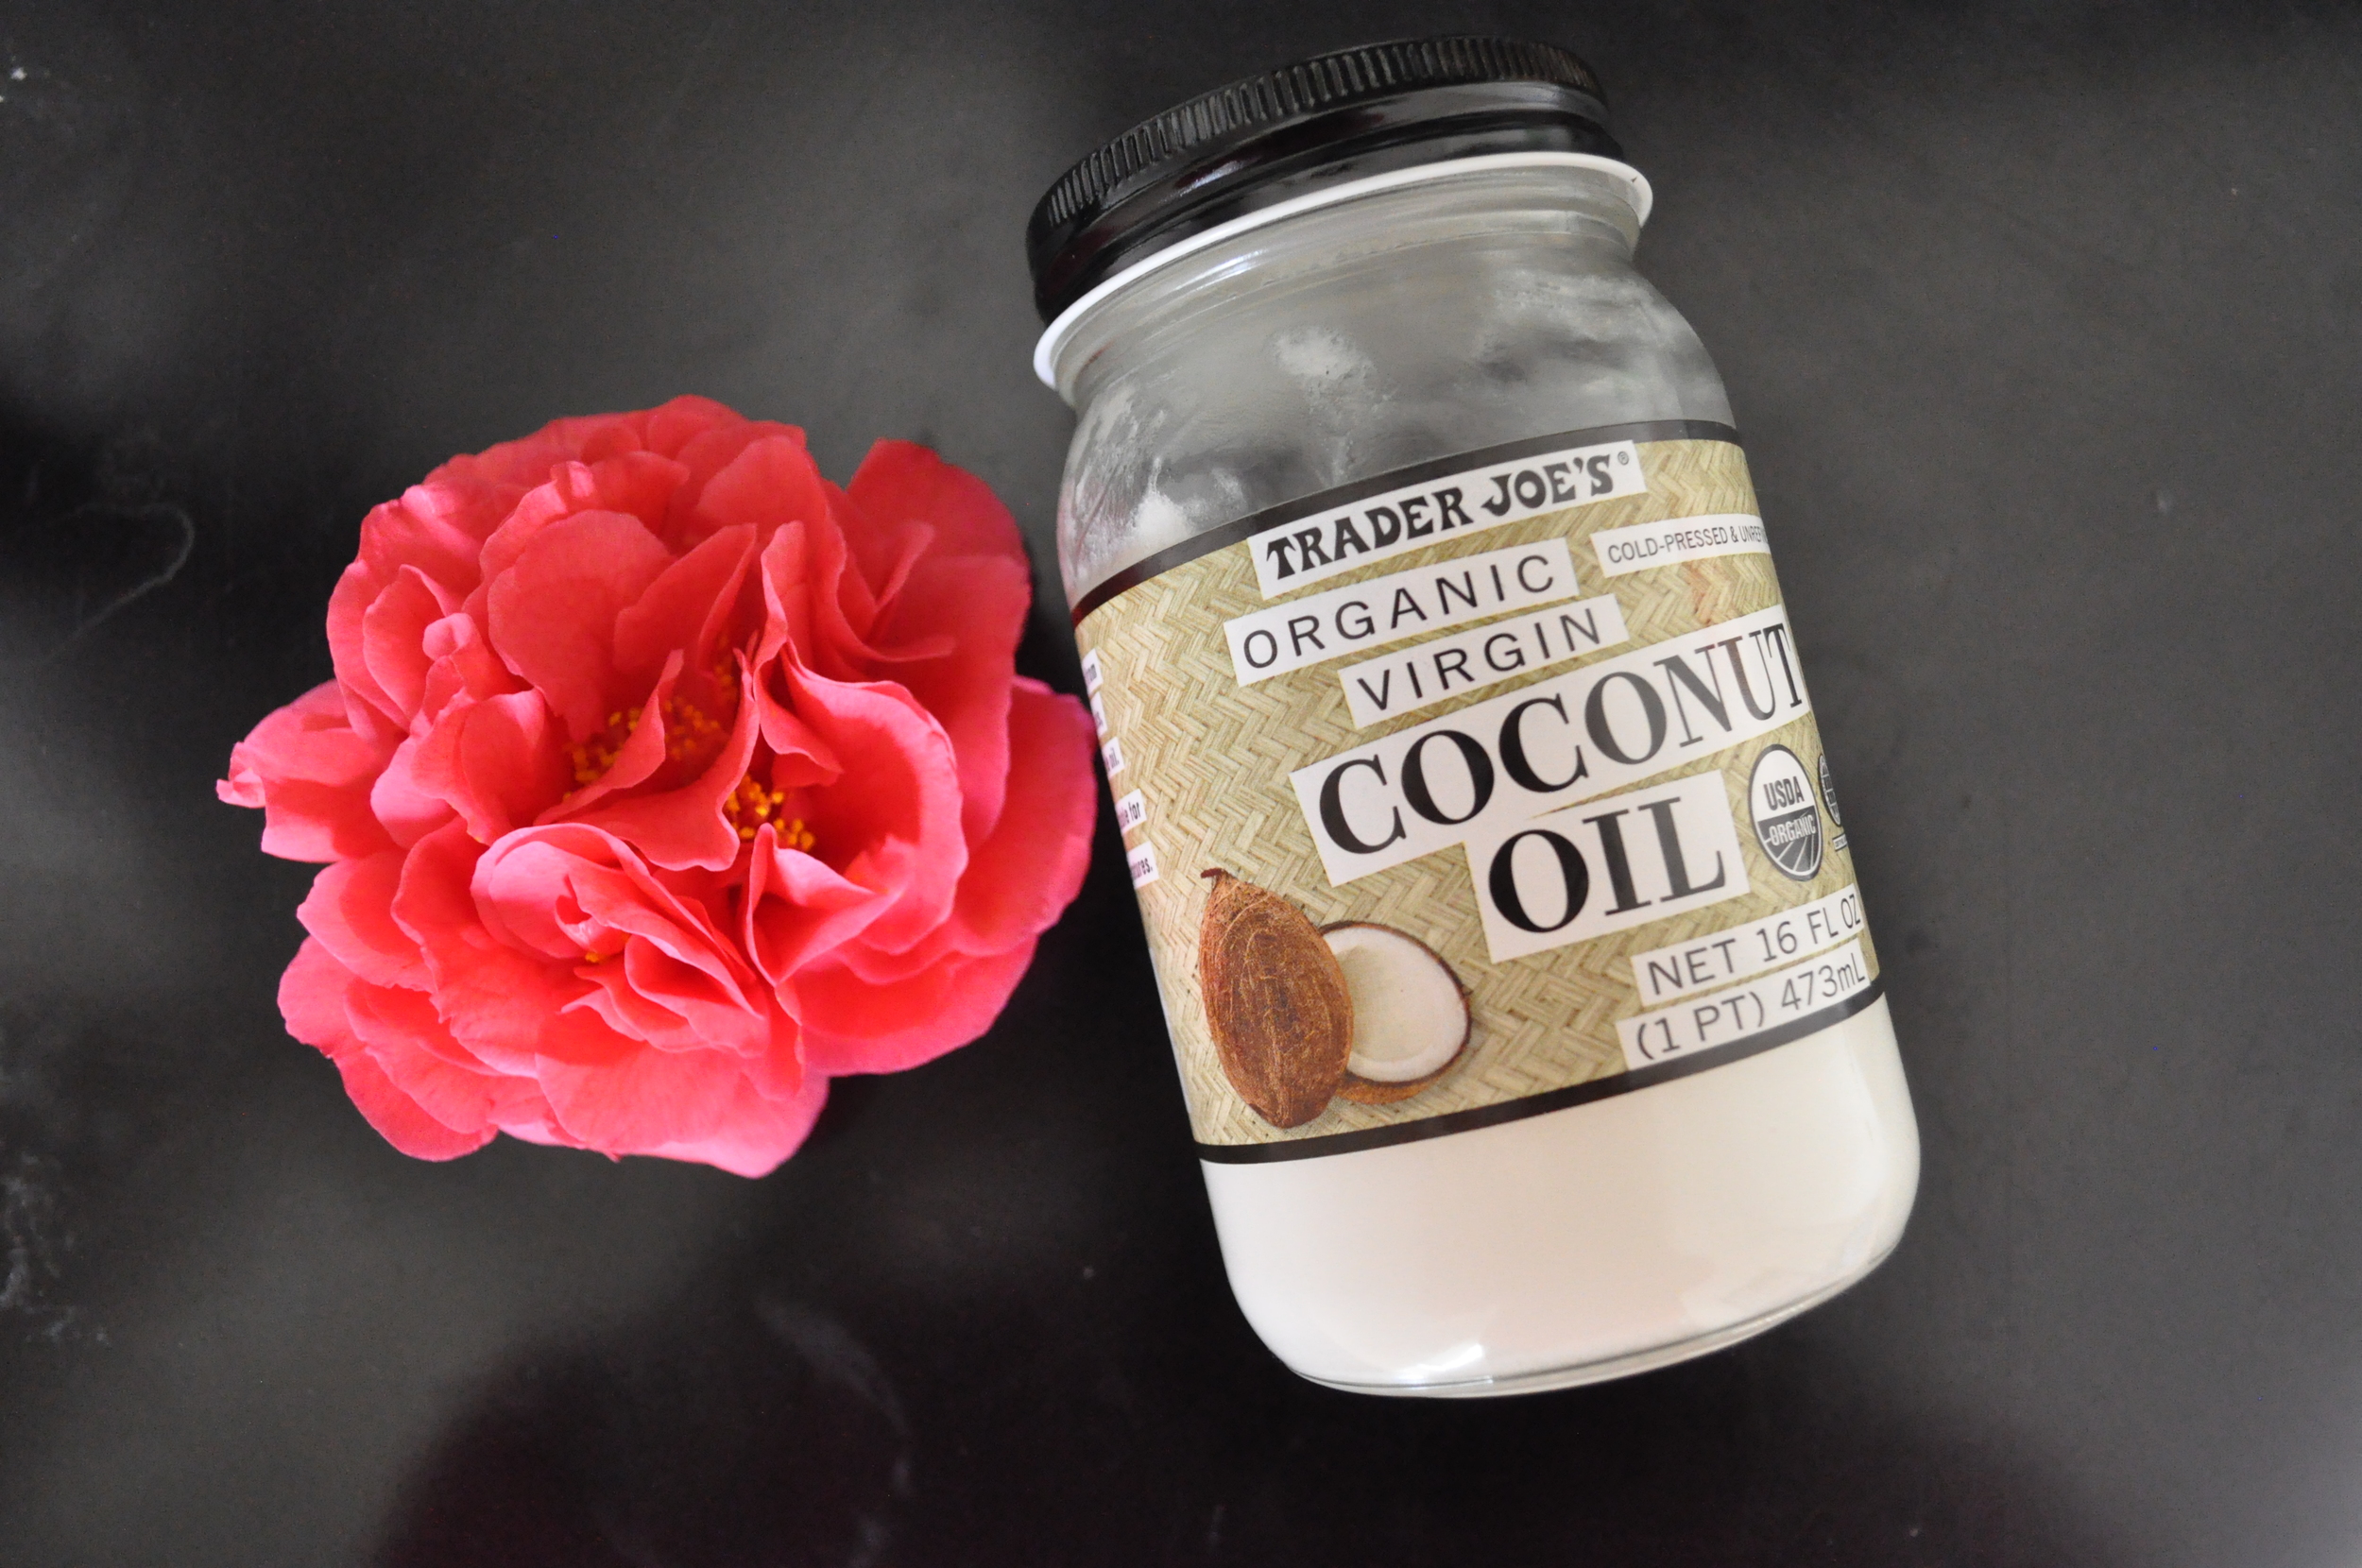
Step : 5 Moisturize With Coconut Oil
Finally, it's coconut oil for the win. You guys, I swear by this stuff on everything. My face, my hair, my nails, my food. I put it on pretty much everything. No exaggeration. The brand I use is sold at my local Trader Joes for just 5.99 for a 16 fluid ounce jar. This is my moisturizer of choice... maybe coco or shea butter is your jam, but I've used coconut oil consistently for the past 5 years. Actually, before that I was a coco butter lover. I just know what's working for me currently. And if it ain't broke... you know the rest.
So, that's it. My 5 easy steps for an at home facial hydration routine. Give it a whirl and let me know what you think in the comments or on social. Love ya like XO!!!